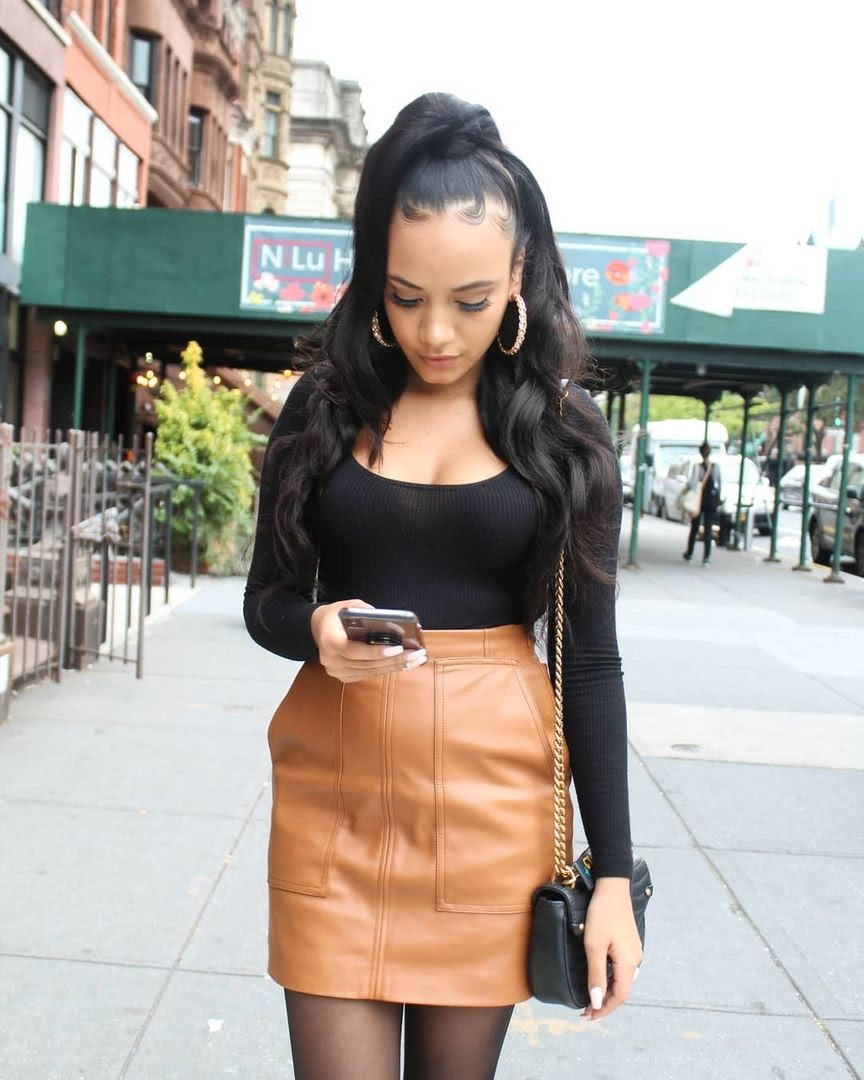
The Half Up Trend Tutorial by Mayvenn Install
No matter what the trend, Mayvenn Install & Extensions can create the look of your dreams
Worn by stars like Ciara, Ariana Grande, Rihanna, and Beyoncé, Mayvenn Install stylist Anthony Jackson (@jaxxstylez) of The DollMakers Studio in NYC provides his step by step tips to achieve the trending Half Up style with extensions. As a celebrity stylist, Anthony has worked with stars such as Sky from Black Ink, Mya, and countless others from reality TV shows.
The Half Up is a trend that is not only fashionable but versatile. With the right technique, it can be achieved with high quality extensions that look invisible once installed. Using bundles from Mayvenn, this style can be done with almost any type of hair – from sleek, to wavy, to curly and even at any length. The best part? You can buy the hair directly from the company online www.mayvenn.com. Then, Mayvenn matches you with a local stylist like Anthony who will then install the hair for FREE – all for the cost of the hair itself. It is essentially hair + service (shampoo, condition, braid down, sew-in, and style) for the price of one
Products needed:
-needle & thread
-2 or 3 bundles of Mayvenn hair
-edge pomade
-elastic hair band
-weaving net
-hair pins/ bobby pins
-heat protectant
Steps by Steps:
- Prep and wash both the hair as well as the Mayvenn bundles selected. This ensures the client’s hair is product free and ready to be braided.
- After blow drying the hair dry, take a section of the hair at the top of crown to create the top knot or pony and secure with a clip.
- Next, section enough hair beneath the top knot or pony going from ear to ear about 1-2 inches and clip away. This will help to blend and cover the sew-in installation later when finishing the style. The remaining hair is left for braiding.
- Once the entire head is sectioned off, use an elastic hair band to place the top knot or pony in the desired position suitable for the client. Remember to leave room, you’ll be adding hair later.
- Next, using the edge control, smooth out the pony and mold the edges around the hairline for a clean finish.
[On to the back]
- Braid the remaining hair straight back in a horseshoe pattern connecting the ends to each other.
- Once the entire back is braided, attach the hair weaving net to the braided foundation. Securing the perimeter for a seamless finish.
[Time to install your Mayvenn hair]
- Using 2 of the Mayvenn bundles, begin to sew-in the extensions to make sure the entire area is covered as much as possible.
- Continue to follow the horseshoe method to ensure maximizing the shape of the head by curving the ends of the wefts for a versatile natural look.
[Styling]
- Once you have sewn-in all of the hair, it is time to blend your leave-out section. Begin to flat iron the leave out using a heat protectant to avoid heat damage. You may also use a curling iron if the style is curlier. Note: please keep in mind if client has longer hair, you’ll need to braid the pony to camouflage the hair.
- Using the remaining bundle of hair, attach to the top knot or pony using bobby pins, securing the end of the bundle to the elastic hair band. Wrap the weft of hair counterclockwise around the pony or top knot. Be sure to add pins along the base of the pony to secure.
- The look should be complete and you can style the hair as desired by the client.
- This look should last about 2-3 weeks with proper care and tying up at night to avoid messing up the smooth pony at top.

To Book Your Next Free Install, please visit https://shop.mayvenn.com
Speak Your Mind